I’m not a professional photographer, but I play one on my blog. Hahahaha I kill me. The hubs says I’m only funny to myself and the girl I shared a uterus with {that would be my twin sister} but I think I’m hilarious. Anyway, for the longest time, I’ve been “watermarking” my images by typing text over the picture and then saving it. Tedious, I tell ya. And pretty inconsistent as far as branding goes. So I started looking for an easier way to “stamp” my images and, lo and behold, it was sitting right there in front of me all this time: PICMONKEY!!!!!!
PicMonkey is by far my favorite tool for quick photo editing. It has just about everything I need when I’m in a hurry and it’s free. There is a paid version but, really, you can do just about everything you need using the free stuff. If you aren’t using PicMonkey, it really is worth a try. And creating your own watermark is the perfect way to get in there and play around.
Directions
{Side Note: Click the Image to Make it Larger}
1. Open PicMonkey in your browser
2. Click on “Create a Collage”
3. Click “Layouts”, the second selection down on the left hand side

4. Click “Create Your Own” at the top, the picture will default to a 1024×1024, that’s OK, you’ll change that later
5. Click on “Background”, the fourth selection down on the left hand side
6. Click “Transparent background” and then save; make sure you save as a .png file or you’ll lose the transparency
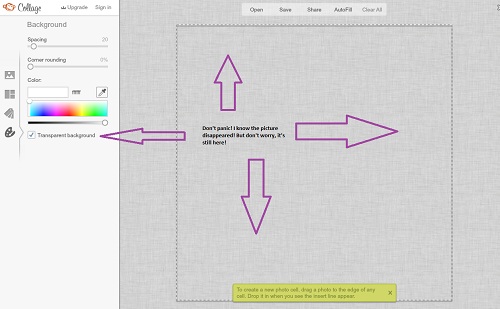
7. Close out of the picture and go to “Edit a photo”
8. Open the image you just saved
9. It will look like nothing is there but trust me, your image is there
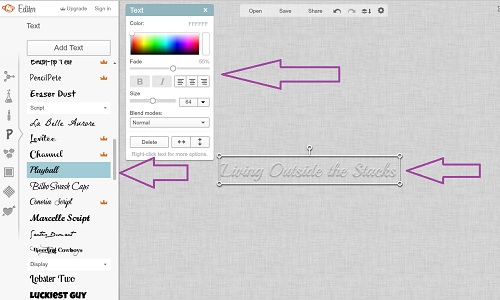
10. Now select text to write your name or the name of your blog; pick a font that represents you and your brand
11. Have fun with the colors and the transparency; I selected white with a transparency of 55% because I don’t want the watermark to interfere too much with the image
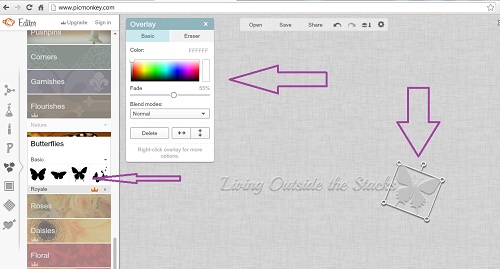
12. If you’d like to have a fun image to go along with your text, select “Overlays” and find something that matches your brand. I chose a butterfly because of my tattoo and because they’re whimsical.
13. Go back to the “Basic Edits” and select the crop tool and crop as tightly on your watermark as you can get without cutting off part of the image.
14. Now save the image as a .png file to retain the transparency
15. You now have a watermark that you can add to all of your images as an overlay.

This week’s Project 365: 2013 Edition theme is “Diptych”. This is my favorite shot of the week; if you’d like to see my other pictures, click here.
Now that you’ve created a watermark, you can protect your pictures and not worry about someone stealing them. Furthermore, your brand will be consistent and look a little more professional. Suh~weet, huh?